
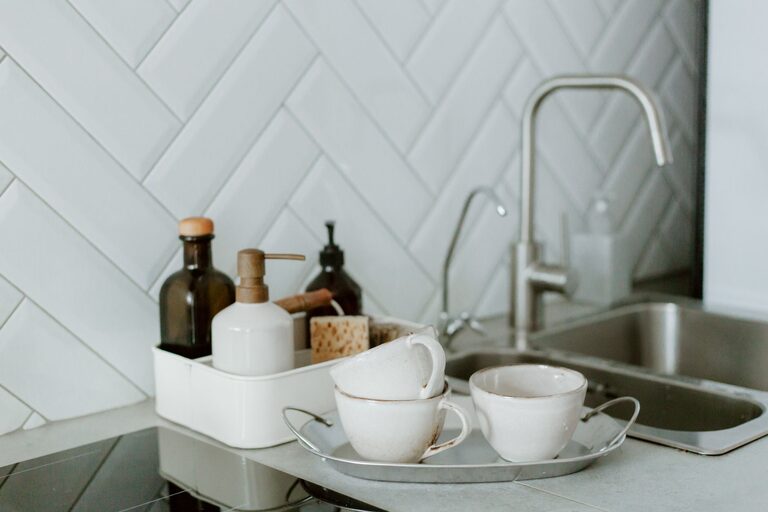
How to Make Your Kitchen Counters Clutter-Free: Practical Tips for a Tidy Space
Keeping your kitchen counters clutter-free not only makes your space look clean and inviting but also helps you work more efficiently. A tidy kitchen can reduce stress, make cooking more enjoyable, and even improve hygiene. If your counters are often crowded with appliances, utensils, and miscellaneous items, don’t worry! This guide will provide practical steps to help you create a neat and organized kitchen countertop.
Why Keep Kitchen Counters Clutter-Free?
Before we dive into the how-to, let’s understand the benefits of a clutter-free kitchen countertop:
– More space to prepare meals: With fewer items on the counter, you have ample room for chopping, mixing, and plating your food.
– Easier to clean: Less clutter means fewer obstacles when wiping down surfaces.
– Improved safety: Clear counters reduce the risk of accidents, like knocking over hot pots or cutting yourself.
– Better organization: When only frequently used items are out, you can find what you need quickly.
Step 1: Clear Everything and Sort
Start by removing everything from your kitchen counters. This allows you to see how much space you actually have and what items tend to take up the most room.
– Wipe down your counters to clean any grime or spills.
– Sort the items you removed into categories:
– Daily essentials: Coffee maker, toaster, knife block.
– Occasional use appliances: Slow cooker, blender.
– Miscellaneous: Mail, keys, random items unrelated to cooking.
Step 2: Decide What Belongs on the Counter
The general rule is to keep only items you use daily on your counters. Everything else should be stored away. Here’s how to decide:
– Keep out:
– Appliances you use every day (electric kettle, coffee maker).
– Frequently used utensils or tools.
– A fruit bowl or a small plant for a touch of decor.
– Store away:
– Appliances used once a week or less.
– Items that don’t belong in the kitchen (mail, bills).
– Excess gadgets, duplicate containers, or appliances.
Step 3: Create Designated Zones
Organize your counters by creating different zones based on activities you perform in the kitchen. This helps keep everything in its place.
– Coffee station: Keep your coffee maker, filters, mugs, and coffee grounds together.
– Prep zone: Store cutting boards, knives, and frequently used spices nearby.
– Cooking zone: Place cooking utensils, timers, and oil bottles close to the stove.
– Cleanup station: Reserve an area near the sink for soap, sponges, and drying racks.
Step 4: Use Storage Solutions
Even with minimal items on the counter, some appliances and tools can clutter your space. Use smart storage solutions to keep counters clear.
– Wall-mounted racks or magnetic strips: Store knives, utensils, or spice jars on the wall.
– Under-cabinet shelves: These can hold mugs or small containers without taking counter space.
– Drawer organizers: Help keep drawers tidy, reducing the need to keep extra things on counters.
– Countertop containers: Use decorative jars or canisters for frequently used items like sugar or flour.
– Appliance garages: These are cabinets designed to store small appliances hidden from sight.
Step 5: Manage Cords and Wires
Appliances with cords can add to the visual clutter. To manage cables:
– Use cord clips or cable organizers to keep wires neat and out of the way.
– Consider cordless appliances when possible.
– Plug appliances into nearby outlets, minimizing dangling cords.
Step 6: Establish a Daily Clearing Habit
Maintaining a clutter-free kitchen counter is easier when you make clearing the counters a daily habit.
– After cooking or eating, remove items that don’t belong on the counter.
– Put away appliances and utensils right after use.
– Quickly wipe down the counters to keep them clean and inviting.
Step 7: Limit Decorative Items
While it’s nice to personalize your kitchen, too much decor can eat up valuable counter space.
– Choose just one or two decorative pieces, such as a small plant or a vase.
– Keep decorations away from busy work areas.
– Use wall space or shelves for additional decoration instead of counters.
Step 8: Regularly Purge Unnecessary Items
Periodically go through your kitchen counters and storage to remove items you no longer need.
– Donate or discard appliances and gadgets that you rarely use.
– Check expiration dates on baking supplies and spices.
– Reassess what items truly belong on your countertops.
Bonus Tips
– Use multi-functional appliances: This reduces the number of gadgets that need to be stored.
– Choose clear containers: They make it easy to see what you have and can neatly store dry goods.
– Label your storage: Helps everyone in the household keep counters organized.
Conclusion
A clutter-free kitchen counter creates a welcoming, efficient space that makes cooking and cleaning easier. By clearing your counters, deciding what belongs, using smart storage, and maintaining daily habits, you can enjoy a tidy kitchen that feels spacious and calm. Remember, the key is to keep only what you use daily on your counters and store everything else out of sight. Happy organizing!
